
Quick answer: the best lash glue for beginners is not automatically the slowest or fastest bottle. A new professional lash artist should choose an adhesive whose advertised dry time leaves enough time to isolate, dip, place and release without the extension sliding or the adhesive curing before attachment. For many trained beginners, a 1-second formula is a more controlled starting comparison than a 0.5-second formula, but the final choice must be tested in the artist's real room and used according to the named product directions.
Table of Contents
- What makes lash glue beginner-friendly?
- 0.5-second vs 1-second lash glue
- Match dry time to placement speed
- Check humidity, temperature and viscosity
- A 10-placement beginner glue test
- Storage, bottle age and drop control
- Common beginner mistakes
- Frequently asked questions
What Makes Lash Glue Beginner-Friendly?
A beginner-friendly lash adhesive gives the artist a repeatable working window. That window must match the artist's actual hand speed, not the speed they hope to reach later. The key question is simple: after the extension base touches the natural lash, can the artist form a clean attachment before the adhesive loses workable movement?
Dry time is only the first filter. A useful beginner comparison also records the room, viscosity, glue amount, attachment zone, bottle age and drop-refresh routine. If two formulas are tested with different room conditions or different glue amounts, the result cannot show which adhesive is easier to control.
Look for five practical qualities during sample testing:
- Enough placement time: the extension can be positioned without rushing.
- Clean release: the extension stays where placed when the tweezers release it.
- Predictable flow: the adhesive amount is visible and repeatable across placements.
- Room compatibility: behavior remains usable under the recorded salon conditions.
- Clear documentation: the bottle, label, lot, SDS and named product directions can be matched.
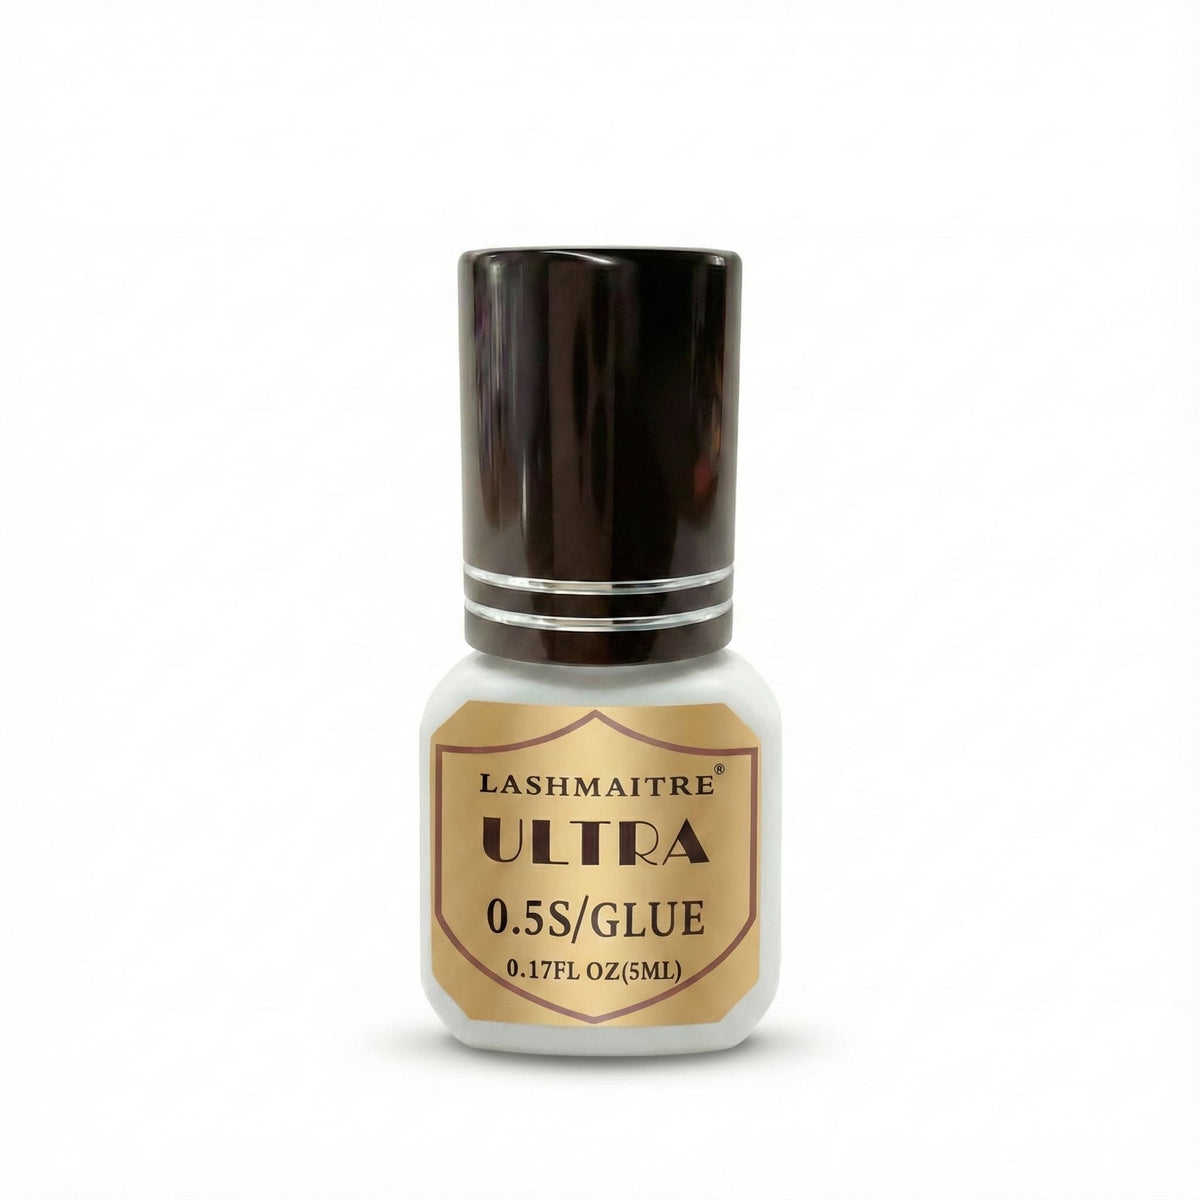
0.5-Second vs 1-Second Lash Glue
The numbers 0.5 second and 1 second describe advertised working or grab speed under the conditions specified for a particular product. They are not universal laboratory guarantees. Room moisture, temperature, drop freshness, adhesive amount and movement during placement can all change how fast a formula feels in practice.
| Comparison point | 1-second glue | 0.5-second glue |
|---|---|---|
| Who should test it? | Trained artists building a consistent professional rhythm. | Artists who already isolate, dip and place very quickly. |
| Main control question | Does the base stay stable without forcing the pace? | Can placement finish before the adhesive grabs? |
| Common mismatch | The formula feels slow for a very fast artist. | The adhesive grabs before a slower placement is complete. |
| Best decision method | Run the same documented placement test in the same room before choosing. | |
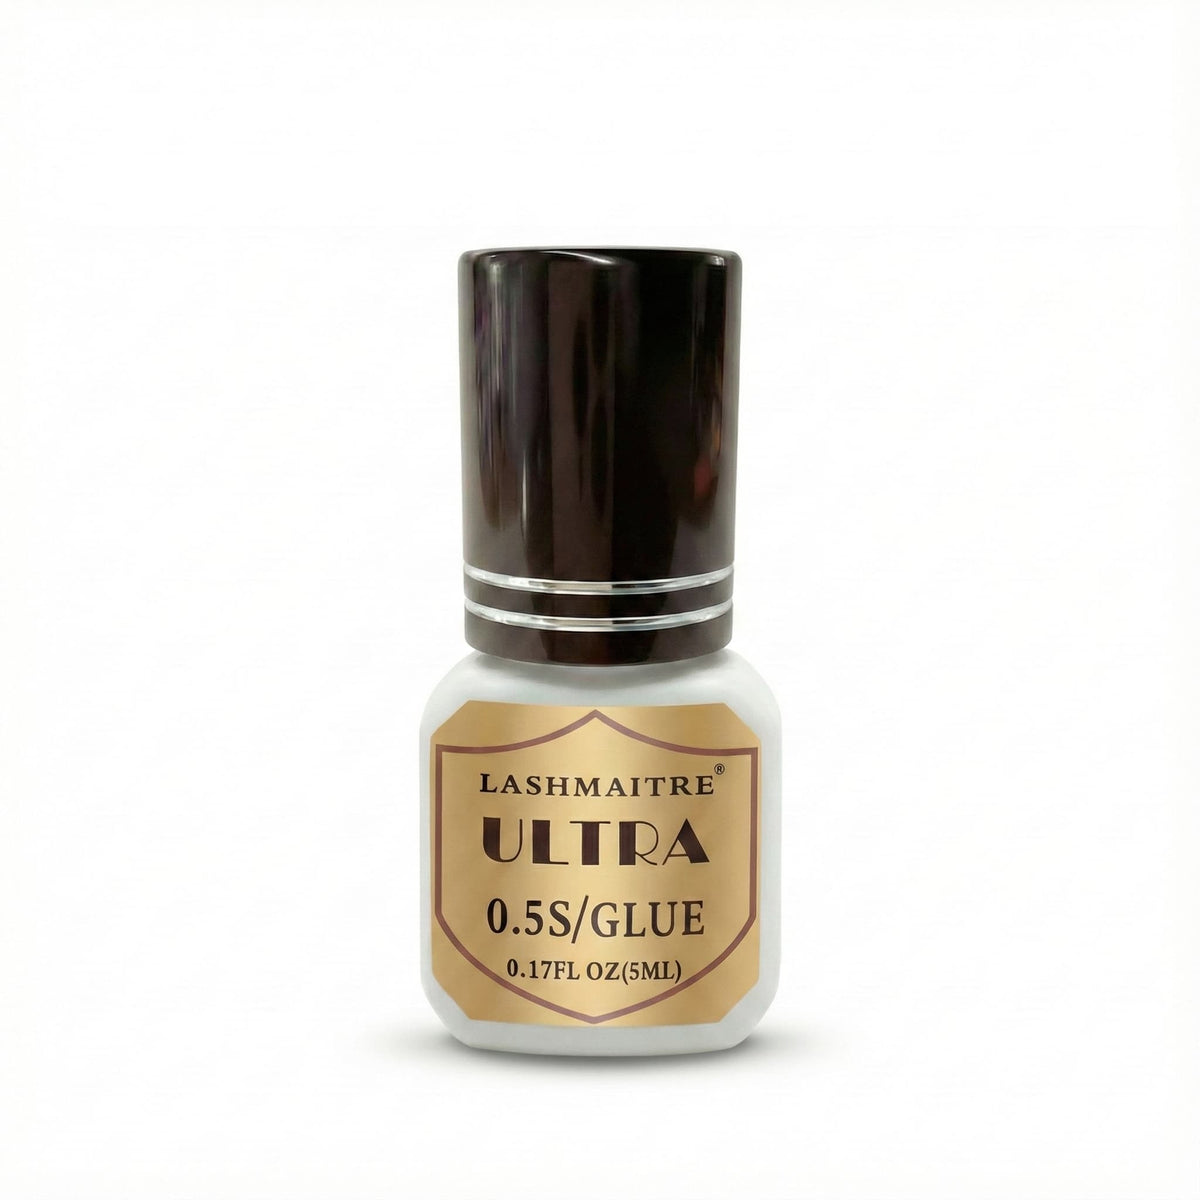
A trained beginner should not select 0.5-second lash glue just because faster sounds more professional. Speed becomes useful only when it matches reliable isolation and placement. Compare the LASHMAITRE 1-second professional glue with the 0.5-second Ultra Bond glue, then let controlled samples—not the number alone—decide.
Match Dry Time to Placement Speed
Measure the workflow instead of labeling yourself “slow” or “fast.” Prepare a normal practice setup, start from a completed isolation and observe whether the base reaches its final attachment position before the adhesive grips. The goal is not to race a stopwatch. The goal is to see whether the formula supports clean, repeatable placement.
If the base repeatedly freezes before it reaches the intended attachment zone, the current combination may be too fast for the artist or the recorded room. If the base repeatedly shifts after release, the combination may be too slow, the adhesive amount may be inconsistent, or the placement method may need correction. Change one variable at a time.
Use the same lash type, tweezer setup and practice surface for both formulas. Record at least 10 controlled placements per formula, and repeat the comparison across 2 separate practice sessions. Twenty well-recorded placements provide a clearer beginner decision than one impressive attachment.
Check Humidity, Temperature and Viscosity
Dry time cannot be separated from the room. Record relative humidity as a percentage and temperature in °C or °F at the start of every test. Do not copy a universal “ideal” range from another brand or salon. Follow the named product directions and compare samples under the room conditions where the adhesive will actually be used.
For the full room-selection method, use the lash glue humidity and dry-time guide. To separate attachment behavior from curing terminology, review lash adhesive drying vs curing.
Viscosity also affects how the drop and attachment feel. A thinner or thicker formula is not automatically easier for a beginner; it must allow a consistent pickup amount and controlled attachment zone. If flow is the main variable, continue with the lash adhesive viscosity guide rather than asking one page to solve every adhesive problem.
A 10-Placement Beginner Glue Test
Use this small comparison before changing an entire salon workflow:
- Label the sample. Record formula name, lot or batch reference, bottle opening date and the date of the test.
- Record the room. Write down humidity percentage and temperature in °C or °F.
- Standardize the setup. Use the same lash type, pickup method, tweezer setup and practice surface.
- Prepare a fresh drop. Follow the product directions for shaking, dispensing and refresh timing.
- Complete 10 placements. Mark each placement as early grab, controlled grab, movement after release or another clearly defined observation.
- Repeat in a second session. Do not choose a formula from a single drop or a single good placement.
- Compare one variable. If changing dry time, keep the other test conditions as similar as practical.
Do not use a client appointment as an uncontrolled first trial. Training models, practice surfaces and the product's professional directions should guide the evaluation. For adhesive quantity control, use the lash glue amount guide.

Storage, Bottle Age and Drop Control
A formula can feel inconsistent when the real variable is bottle handling. Record the opening date, keep the nozzle clean, close the bottle as directed and follow the supplier's instructions for unopened and opened storage. Avoid inventing a universal replacement schedule because formulas, packaging and storage directions differ.
During a test, note when the drop was dispensed and when behavior starts to change. Do not compare a fresh drop of one formula with an aging drop of another. For a complete workflow, follow the lash extension glue storage guide.
Buyers should also match the physical bottle to its documentation. Confirm product identity, ingredient records, label information and the current SDS rather than assuming that similar bottle colors or marketing names mean similar formulas. The lash adhesive ingredients and SDS guide covers that documentation path.
Common Beginner Mistakes
- Choosing the fastest number: advertised speed is useful only when it matches current placement control.
- Changing several variables at once: different rooms, lash types, amounts and drop ages make the comparison unclear.
- Ignoring the named product directions: general blog guidance cannot replace formula-specific instructions.
- Judging one placement: repeat at least 10 placements and a second session before choosing.
- Making safety promises: terms such as “hypoallergenic” or “safe for sensitive eyes” require evidence and should not be inferred from speed, color or one ingredient.
- Using professional extension glue for DIY lashes: these products are not substitutes for consumer strip or cluster adhesive.
Compare Professional Lash Glue by Working Speed
Start with the full LASHMAITRE Lash Glue & Liquids collection. Test the 1-second professional glue for a controlled pace and the 0.5-second Ultra Bond glue only when the artist can support a faster working window.
Frequently Asked Questions
What is the best lash glue for beginners?
The best beginner lash extension glue is the formula that matches a trained artist's current placement speed, room conditions and product directions. Many new professionals may find a 1-second candidate easier to compare than an ultra-fast formula, but the choice should follow controlled practice testing rather than a universal recommendation.
Is 0.5-second glue too fast for a beginner?
It can be. A 0.5-second adhesive may begin grabbing before a slower placement is complete. A trained beginner should test it only when isolation and placement are already fast and consistent. Compare it with a 1-second option under the same recorded conditions before deciding.
Is 1-second lash glue better for new lash artists?
A 1-second formula can offer a more controlled comparison for many trained new artists, but “better” depends on the named formula, room, viscosity and working rhythm. If the base moves after release, the issue may involve speed, amount or technique—not simply the number printed on the bottle.
Does humidity change lash glue dry time?
Room moisture can change how quickly cyanoacrylate-based extension adhesive begins curing, so the same product may feel different across rooms. Record humidity and temperature during every test and follow the product's stated conditions. Do not assume that another salon's preferred range applies to your formula.
How should a beginner test a new adhesive?
Record the formula, lot, opening date, humidity and temperature; standardize the lash, pickup and practice surface; then complete 10 controlled placements. Repeat the comparison in a second session. Change one variable at a time and follow the named product directions throughout the test.
Can beginner lash glue be used for DIY lashes?
No. Professional lash extension adhesives are intended for trained professional application and are not substitutes for consumer strip or cluster-lash glue. Follow product labeling, SDS information, training requirements and local rules. Stop use and follow appropriate professional procedures if irritation or unexpected exposure occurs.
Conclusion
The best lash glue for a beginner is a controlled match, not a speed trophy. Compare 1-second and 0.5-second candidates with the same setup, record 10 placements per formula across 2 sessions, and preserve the room, amount and bottle-age notes. Choose the working window that supports clean placement now; speed can be reassessed as technique becomes faster and more consistent.
Source Notes
- CDC/NIOSH Pocket Guide: Methyl 2-cyanoacrylate — general occupational handling and exposure reference; not formula-specific lash adhesive directions.
- NALA Professional Guidelines — professional-practice boundary reference; local rules and named product directions still apply.