Lash Extension Stickies: Quick Answer
Lash extension stickies are unintended joins between neighboring natural lashes, extensions or fans. They can form when isolation is incomplete, adjacent lashes are released before the adhesive has set as expected, too much adhesive is present, layers overlap or the final separation check is incomplete. Stop, identify the joined fibers and correct them only within professional training and product procedures.
| Sticky pattern | Likely workflow area to inspect | Record for review |
|---|---|---|
| Two neighboring natural lashes joined | Isolation or release timing | Zone, layer and working rhythm |
| Extension attached to adjacent natural lash | Placement/isolation control | Placement angle and tweezer access |
| Fans or extensions joined together | Adhesive amount or contact | Dip, bead and overlap notes |
| Repeated joins in one zone | Visibility, tape or layering | Map, pad/tape position and lighting |
| Stickies found only at the end | Intermediate checking gap | Checkpoint timing and artist sequence |
The goal is not to blame one tool. It is to locate the failed control in a one-to-one application workflow and prevent the pattern from repeating.
Table of Contents
- What stickies are and why isolation matters
- How different stickies form
- Tweezers, tape and visibility
- Adhesive amount, dry time and rhythm
- Layered and final separation checks
- Training and salon QA records
- FAQ
What Lash Extension Stickies Mean in Professional Application
In classic application, the intended unit is one extension attached to one isolated natural lash. The Minnesota Board of Cosmetology’s eyelash extension practical skills test guide describes one synthetic extension to one natural lash and treats unresolved neighboring joins as “stickies” in that specific state test.
That source is useful evidence that final separation is a recognized professional competency. Its scoring thresholds belong to the Minnesota examination and should not be presented as a universal salon or legal standard.
Stickies matter because neighboring natural lashes do not necessarily share the same growth cycle. This article does not diagnose damage or symptoms. It establishes a prevention and quality-control workflow for trained professionals.
Understand How the Main Sticky Patterns Form
OneVSalonPro’s practitioner article, What Are Stickies?, groups stickies around isolation and adhesive control. In salon QA, it is more useful to record the physical join than to guess the cause immediately.
Three patterns deserve separate notes:
- Natural-to-natural join: adhesive contact reaches a neighboring natural lash.
- Extension-to-neighbor join: the placed extension or fan touches another natural lash.
- Extension-to-extension join: two applied fibers or fans contact before separation is secure.
Photograph training mannequins or controlled samples when useful, but never rely on a client photograph to diagnose discomfort or lash loss. If a client has pain, swelling, redness or another concerning symptom, stop the cosmetic process and follow appropriate professional and medical guidance.
Improve Isolation Through Tweezers, Tape and Visibility
Isolation begins before adhesive pickup. Position the client and lighting so the artist can see the target lash and both neighbors. Use lower-lash isolation materials and layer control according to training, without placing materials where they create discomfort or interfere with safe observation.
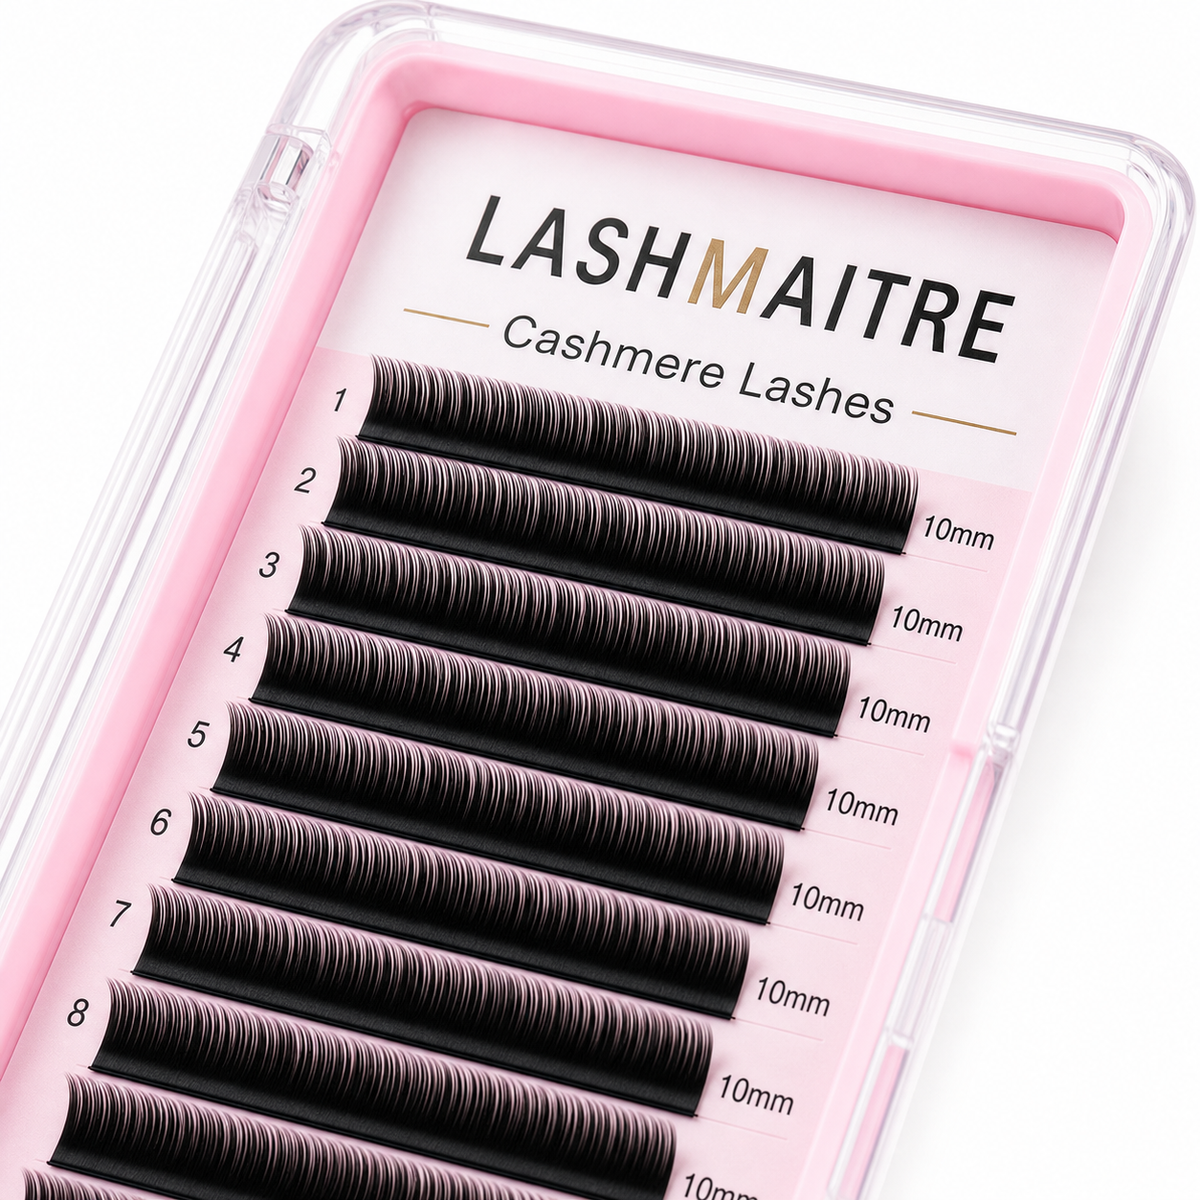
The Lash Extension Tweezers Guide covers tip alignment, grip and sample testing. The Lash Extension Tape Types guide covers material selection and use boundaries. Neither tool fixes a workflow by itself; the pair must support stable access to the target lash.
Check the workstation for:
- tweezer tips that meet consistently at the working point;
- a grip that does not force excess hand tension;
- task lighting without a deep shadow across the lash line;
- tape or pad placement that preserves visibility;
- a clean sequence for moving between layers and zones.
When stickies cluster in one eye area, record the artist’s viewing angle and hand position. A location pattern can reveal an access problem that a general “work on isolation” note would miss.
Match Adhesive Amount, Dry Time and Placement Rhythm
Excess adhesive can widen the contact area and make unintended transfer more likely. Too little or poorly placed adhesive creates different service problems, so the solution is controlled pickup—not simply “use less.” The How Much Lash Glue to Use guide provides the dedicated bead and dip framework.
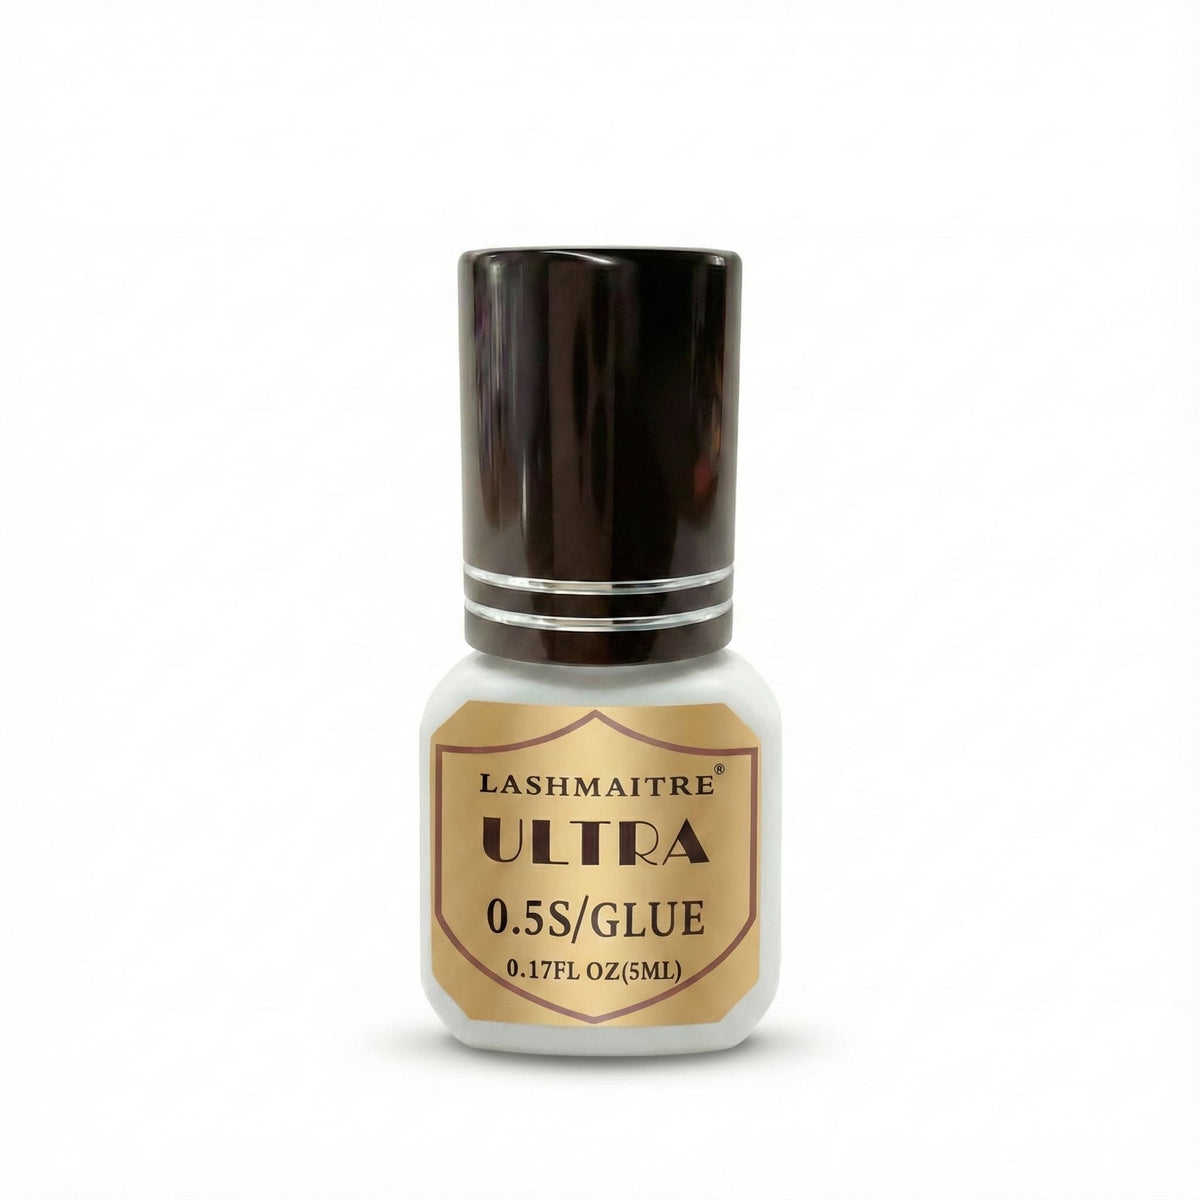
Dry time must also match the artist, room and application rhythm. An adhesive that sets faster than the artist’s clean placement window can compromise positioning; one that remains mobile longer than expected may increase the time in which neighboring contact can occur. Use the Humidity and Dry-Time guide to document the match without claiming one universal range.
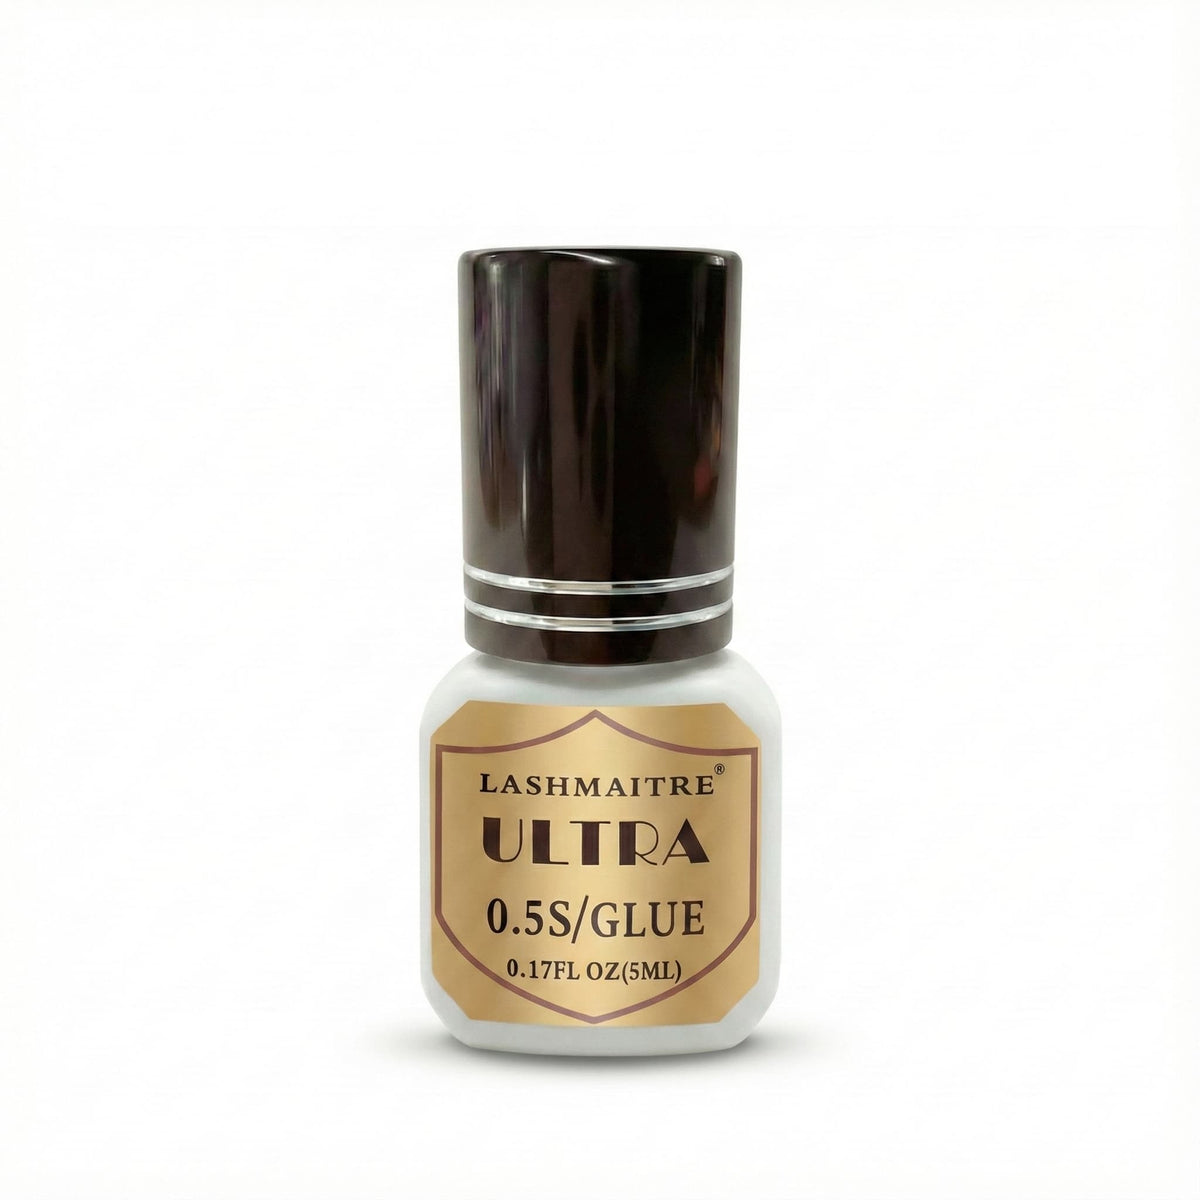
For a product comparison path, review the Lash Glue & Liquids collection, the 1-second professional lash extension glue and the 0.5-second Ultra Bond lash glue. Compare them only after confirming manufacturer directions, room conditions and the artist’s repeatable placement speed.
| Control | Useful record | Avoid |
|---|---|---|
| Pickup | Bead location and repeatable dip method | “More” or “less” without a standard |
| Room | Actual readings and device | Guessing from weather or feel |
| Product | SKU, lot and opened date | Switching lots without notes |
| Rhythm | Placement and release checkpoints | Speed targets detached from quality |
| Outcome | Sticky type and location | A single total with no pattern |
Use Layer-by-Layer Checks and a Final Separation Routine
Do not leave every check until the final minute. Build intermediate separation checkpoints into the service according to training and adhesive directions. For example, check a completed zone before changing layers, then repeat a systematic final pass after the product-specific set interval.
A final check should follow a written route so no area is skipped: inner to outer, layer by layer, on both eyes. Use trained tweezer handling and adequate visibility. Do not pull or force bonded lashes. Any correction method must stay within professional education, product directions and the salon’s service policy.
The How Lash Extensions Work guide supports client-facing explanation of classic, volume and premade construction. The Retention Checklist remains the broader diagnostic path when the concern is premature shedding rather than visible joins.
Build a Training and QA Record Around the Workstation
Use one record for tools, adhesive, room and outcome. This prevents the salon from replacing tweezers when the real pattern involves tape position, or blaming adhesive when an access problem repeats in the same zone.
Record eight fields: artist, date, service/map, tweezer pair, tape or pad, adhesive SKU and lot, room readings and final-check result. If stickies are found, add type, eye, zone, layer and corrective training action. Review trends weekly or after a defined number of services rather than judging performance from one appointment.
For purchasing, sample tweezers, isolation materials and adhesive within the same approved workstation. A strong individual product can still be a poor match for the artist’s working sequence. Keep a backup tool set with the same verified grip and tip behavior.
FAQ
What are lash extension stickies?
Lash extension stickies are unintended joins between neighboring natural lashes, applied extensions or fans. They indicate that one-to-one isolation or separation was not fully maintained. A trained professional should identify the joined fibers, follow the approved correction procedure and document the workflow point that allowed the contact.
Why do lash extensions stick to neighboring lashes?
Common variables include incomplete isolation, releasing neighboring lashes too early, overlapping layers, excess adhesive, poor visibility or a dry time that does not match the artist and room. The physical sticky pattern and its location should be recorded before changing tools or products, because several variables can create a similar result.
Can too much adhesive cause stickies?
Yes, an oversized or uncontrolled adhesive contact area can increase the opportunity for a neighboring lash or extension to join. The solution is a repeatable pickup and placement standard, not an arbitrary instruction to use the smallest possible amount. Review bead position, dip method, isolation and contact together.
Can adhesive dry time affect separation?
Yes. If the adhesive remains mobile longer than the artist expects, neighboring contact may occur after release. If it sets faster than the artist’s clean placement window, control may also decline. Match the named adhesive to recorded room conditions and working rhythm, following the manufacturer’s instructions rather than a universal timing rule.
How should artists check for stickies at the end?
Use a documented route that covers both eyes, each zone and every worked layer, with adequate lighting and trained tweezer control. Include intermediate checkpoints so the final pass is not the only safeguard. Never pull bonded lashes or recommend at-home separation; correction belongs within professional training and service procedures.
What tools and records support better isolation?
Use aligned isolation tweezers, suitable lower-lash materials, stable lighting and a map or layer sequence. Record the artist, tool pair, tape or pad, adhesive SKU and lot, room readings and final result. If a sticky appears, add its type and location so training can address a repeatable pattern.
Conclusion
Preventing lash extension stickies requires a system: visible one-to-one isolation, controlled adhesive pickup, a dry-time match, layer checkpoints and a complete final separation route. Track the whole workstation before blaming one product. To compare professional tool or adhesive samples, contact LASHMAITRE with the salon’s current workflow and QA record.
Sources
- Minnesota Board of Cosmetology: Eyelash Extension Practical Skills Test Guide and Quotas, accessed July 26, 2026.
- OneVSalonPro: What Are Stickies?, accessed July 26, 2026.